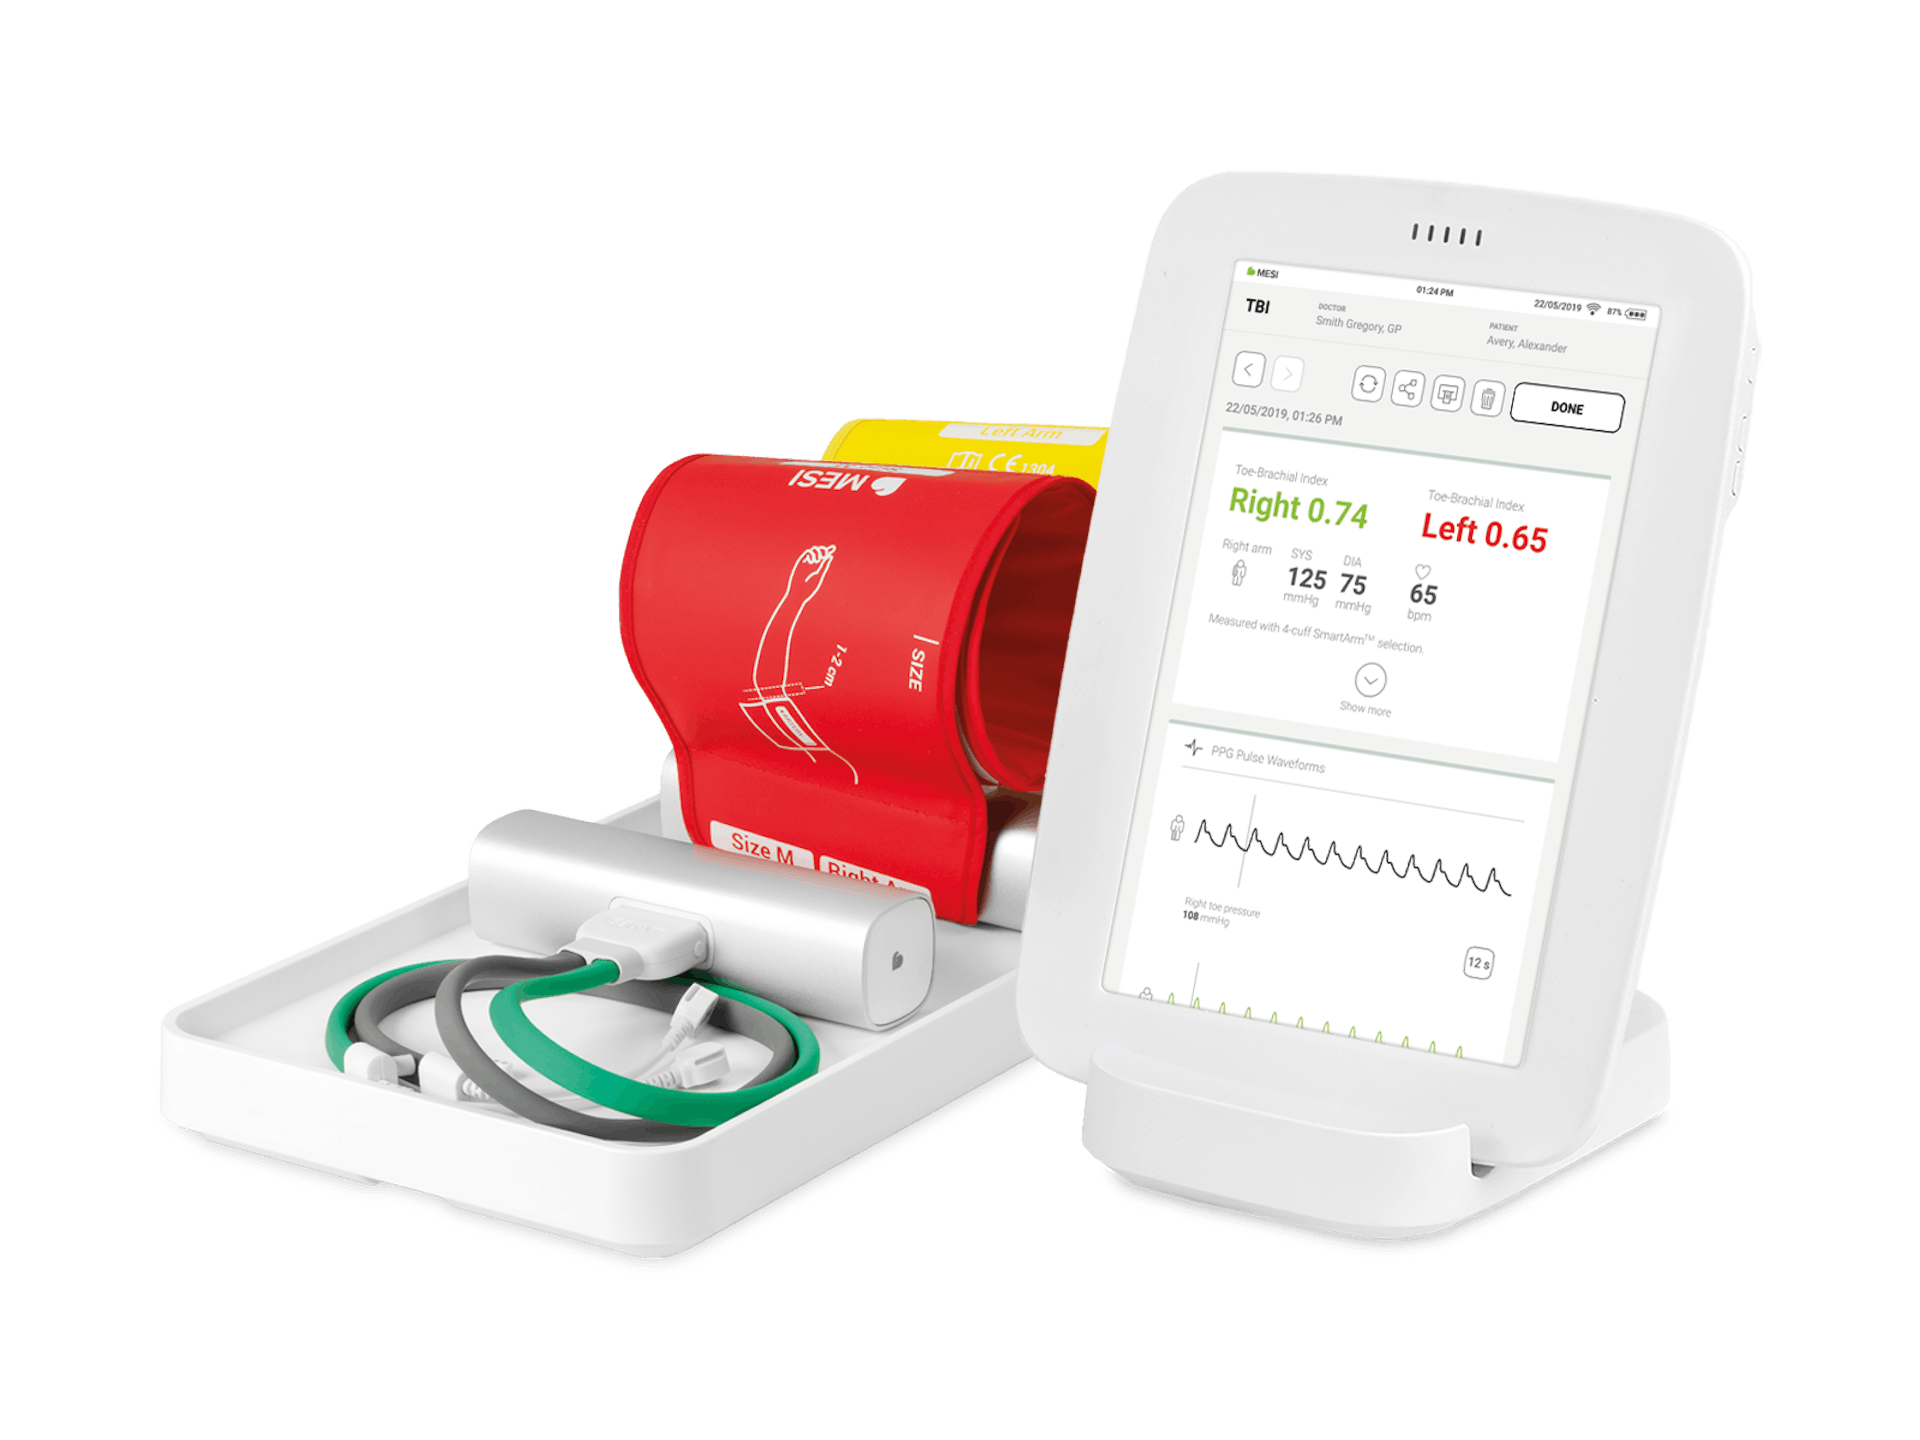
MESI mTABLET TBI module
Key information and support documentation about the MESI mTABLET TBI module.
Video tutorials


Additional resources
Quick guide
Download s quick guide document about the wireless medical tablet system MESI mTABLET. Available in multiple languiages.
Technical specification
Technical specifications providing essential product details.
Print service
This desktop software enables direct printing from the MESI mTABLET as well as direct measurement storage to the local PC or server in PDF format.
Latest version: 2.0.0
Frequently asked questions
A basic protocol should always be established to ensure controlled and repeatable measurements:
- It is beneficial to communicate that the ABI should be measured first. That also means that the pressure fluctuations will stabilize before performing TBI. If someone is measuring TBI on themselves, which includes a lot of movement, the result might not be reliable.
- A few minutes of rest (lying comfortably in a supine position, legs uncrossed, elbows and forearms supported, palms side-up) before the measurement is advised.
- The measurement should be performed in a warm room (room temperature between 21° and 25°C) to prevent vasoconstriction. If the feet are cold, they need to be warmed up. If the toe temperatures are too cold, the result can be off even in a healthy patient.
- The toes should not be hyperextended or flexed. Muscle tightening can impair the blood flow, which can lead to an abnormal result in a healthy patient or to signals flatlining.
- Keep the light conditions the same. Do not walk behind the toes during the measurement, do not close or open the blinds. Try covering up the toes with a towel/blanket to prevent the light conditions from changing.
- When starting the measurement, you should increase or decrease the amplitudes, to match the reference waveforms. If there are no visible waveforms, reposition the probe and wait a couple of seconds for the waveforms to appear.
Use the correct cuff size. You can determine it with SIZE INDICATOR (white line) on the cuff. If it is in the OK REGION, you have chosen the right size. If the size indicator is not in the OK region, please consider changing it to a bigger cuff.
- The cuff should be positioned at the bottom of the toe to ensure there is enough space for the probe.
- The cuff should be facing the soft/bottom part of the toe.
- Fasten the cuff sufficiently: the bladder must momentarily block the blood flow in the artery, but shouldn’t cause the toe to change colour.
- Bend the probe cable to make an arch towards the soft part of the toe. The entire surface of the probe has to be in contact with the skin, snug against the toe.
- The module should be placed between the legs, with the tubes facing outwards.
Toe pressures are lower than arm pressures. For this reason, the result should be verified and the measurement retaken. In this case, check the tips above on caliper positioning and any physical interferences during the measurement.
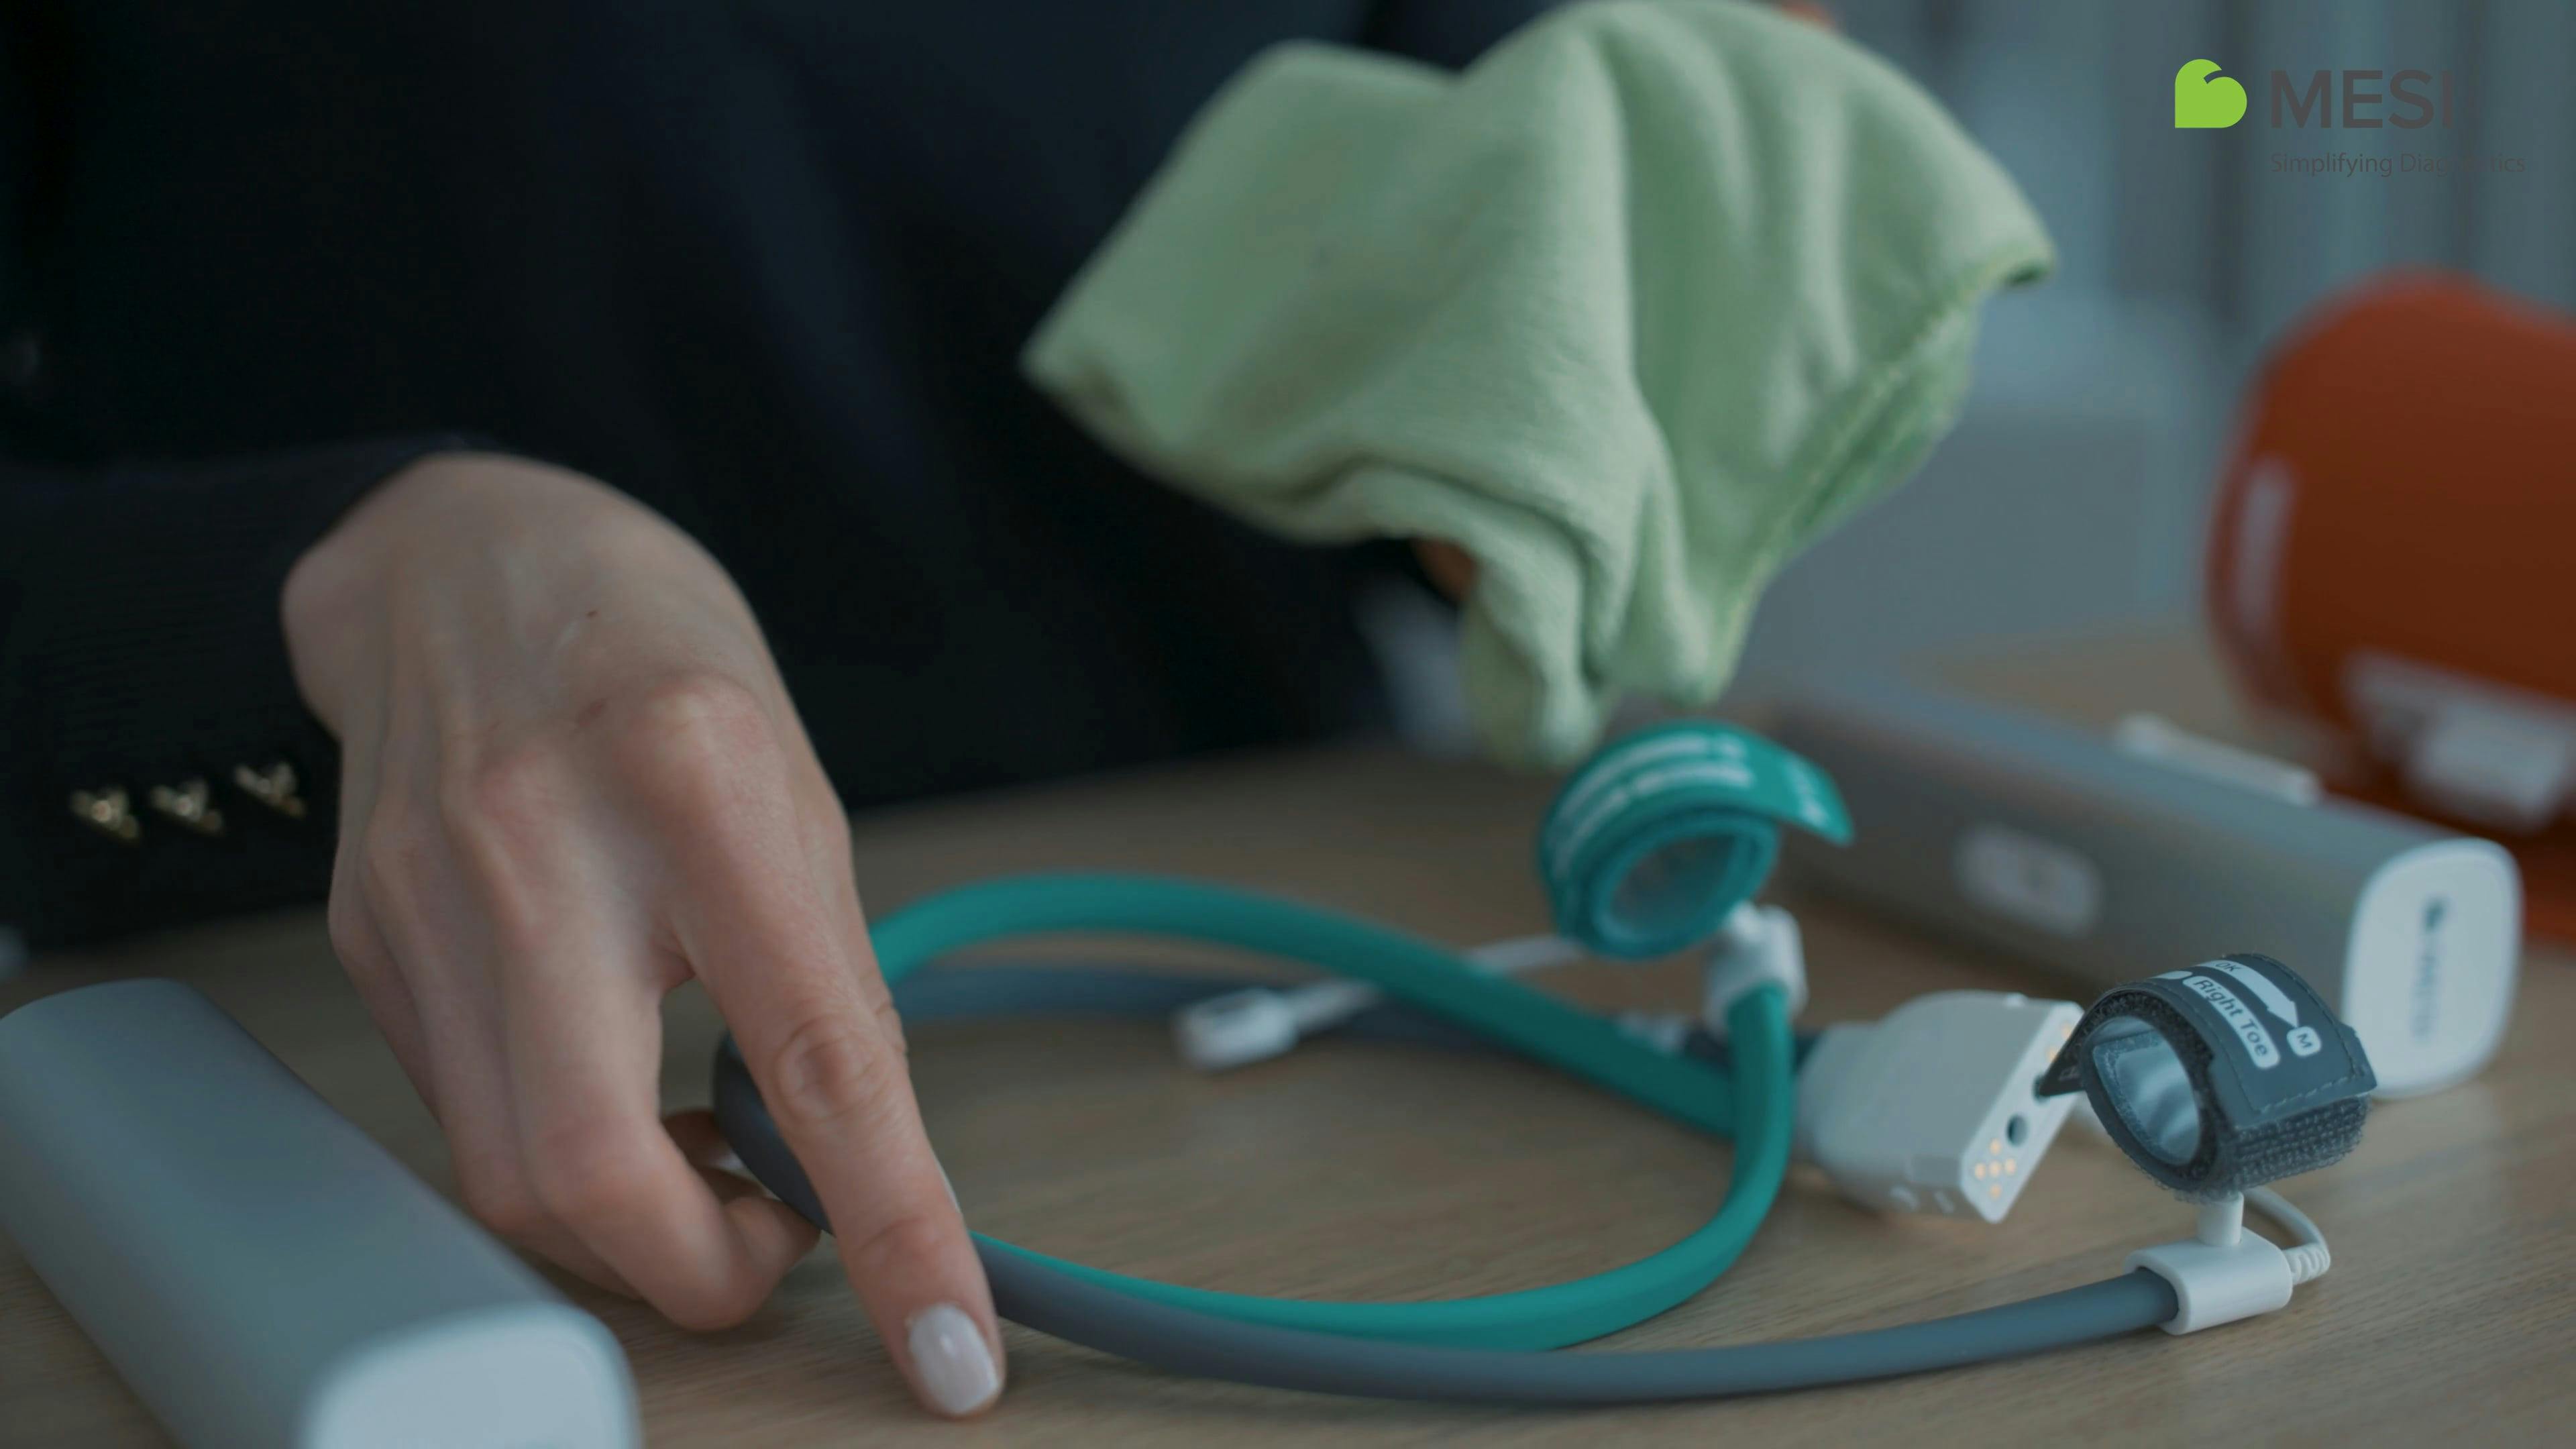
The toe cuffs should be changed properly to prevent damage to the tubes. When removing a cuff from a tube, do not pull at the cuff. Pinch the white holder between your index and middle fingers and secure the holder’s side with your thumb. Then, pull the cuff out of the tube.
- If no waveforms appear and the lines are flat, follow the next steps:
- Check the connection from the cable to the module.
- Check the temperature of the toes and warm them up if necessary.
- Cover the feet with a blanket/towel to make the light conditions consistent. Positioning the PPG sensor can influence the measurement result, so it is important to try out several positions before finding the optimal signal strength. In this, the PPG sensor should be held at a certain area for at least a few seconds before changing its position.
- Loosen the toe cuff (reduce the occlusion of the non-inflated cuff).
- Check the placement of the toe cuffs.
- Loosen/tighten the fastener strap of the PPG probe (reduce the pressure of the probe to the toe).
- Make sure the probe cable is not bent too much.
- Advise the patient not to move during the measurement.
Check the size of the cuff. If it is too small, use a bigger cuff.
The cuff might not be tightened sufficiently. Try tightening it more.
The calliper should be positioned at the beginning of the first clearly visible waveform, i.e. the first waveform denoting the beginning of a clear pulse pattern. Each next waveform is similar or larger in shape. The device might take the “wrong” waveform as the first one. This happens if the cuffs were not tightened sufficiently and the waveforms didn’t disappear and reappear, or if the patient moved at any point. In this case, the calliper should be adjusted manually.
The calliper SHOULD NOT be positioned on a random waveform somewhere on the graph. This always affects the calculated result; the consequence can be a wrong TBI calculation. Please make sure you review the waveform and the automatic selection, and adjust it before confirming the result.
With MESI devices, the blood pressure drift does not occur, as the measurement is simultaneous in the upper and lower extremities. The best practice, in our opinion, would be patient in a supine position, not talking and not moving during the measurement. A slight angle might not affect the result much, but what we recommend is putting a small pillow (or other form of support) under the patient’s head and their knees – especially for patients with tremor or inability to stay still. This will not affect the measurement because the cuffs will be on the same level, but patient will feel more comfortable. We would definitely not recommend the patient is sitting up.
Check if the cuffs are properly attached, reset the module and retry the measurement. If the problem persists please contact support.
1. Incorrect cuff placement. Please refer to the instructions for use to ensure the cuffs are placed correctly.
2. The wrong cuff size has been used. Please refer to the instructions for use to select the correct size.
Errors
If the error is repeated, critical ischaemia may be present. Check the positioning of the cuffs and take the measurement again.
Remind the patient to stay still while the measurement is being taken, and then repeat the measurement.
Refer to the instructions for use for information on cuff placement. Check the position of the cuff, then take another measurement.
Repeat the measurement. If the error is repeated, it means that the measured value is outside the device's measurement range.
Repeat the measurement. If the error is repeated, the measured value is outside the measurement range of the device.
Please check that the cuff is positioned correctly, and refer to the instructions for use to ensure that the correct size has been chosen. If you experience any problems, please contact Support.
The cuff is either not attached, or not attached correctly. Please ensure that the cuff is positioned in accordance with the IFU. Also, check that you are using the correct size of cuff.
Repeat the measurement. If the error is repeated, it means that the measured value is outside the device's measurement range.
Repeat the measurement. If the error is repeated, it means that the measured value is outside the device's measurement range.
Repeat the measurement. If the error is repeated, it means that the measured value is outside the device's measurement range.